Hosting a group? Instead of inviting everyone one by one, create a single party pass that all your guests share at the gate.
Create a party pass
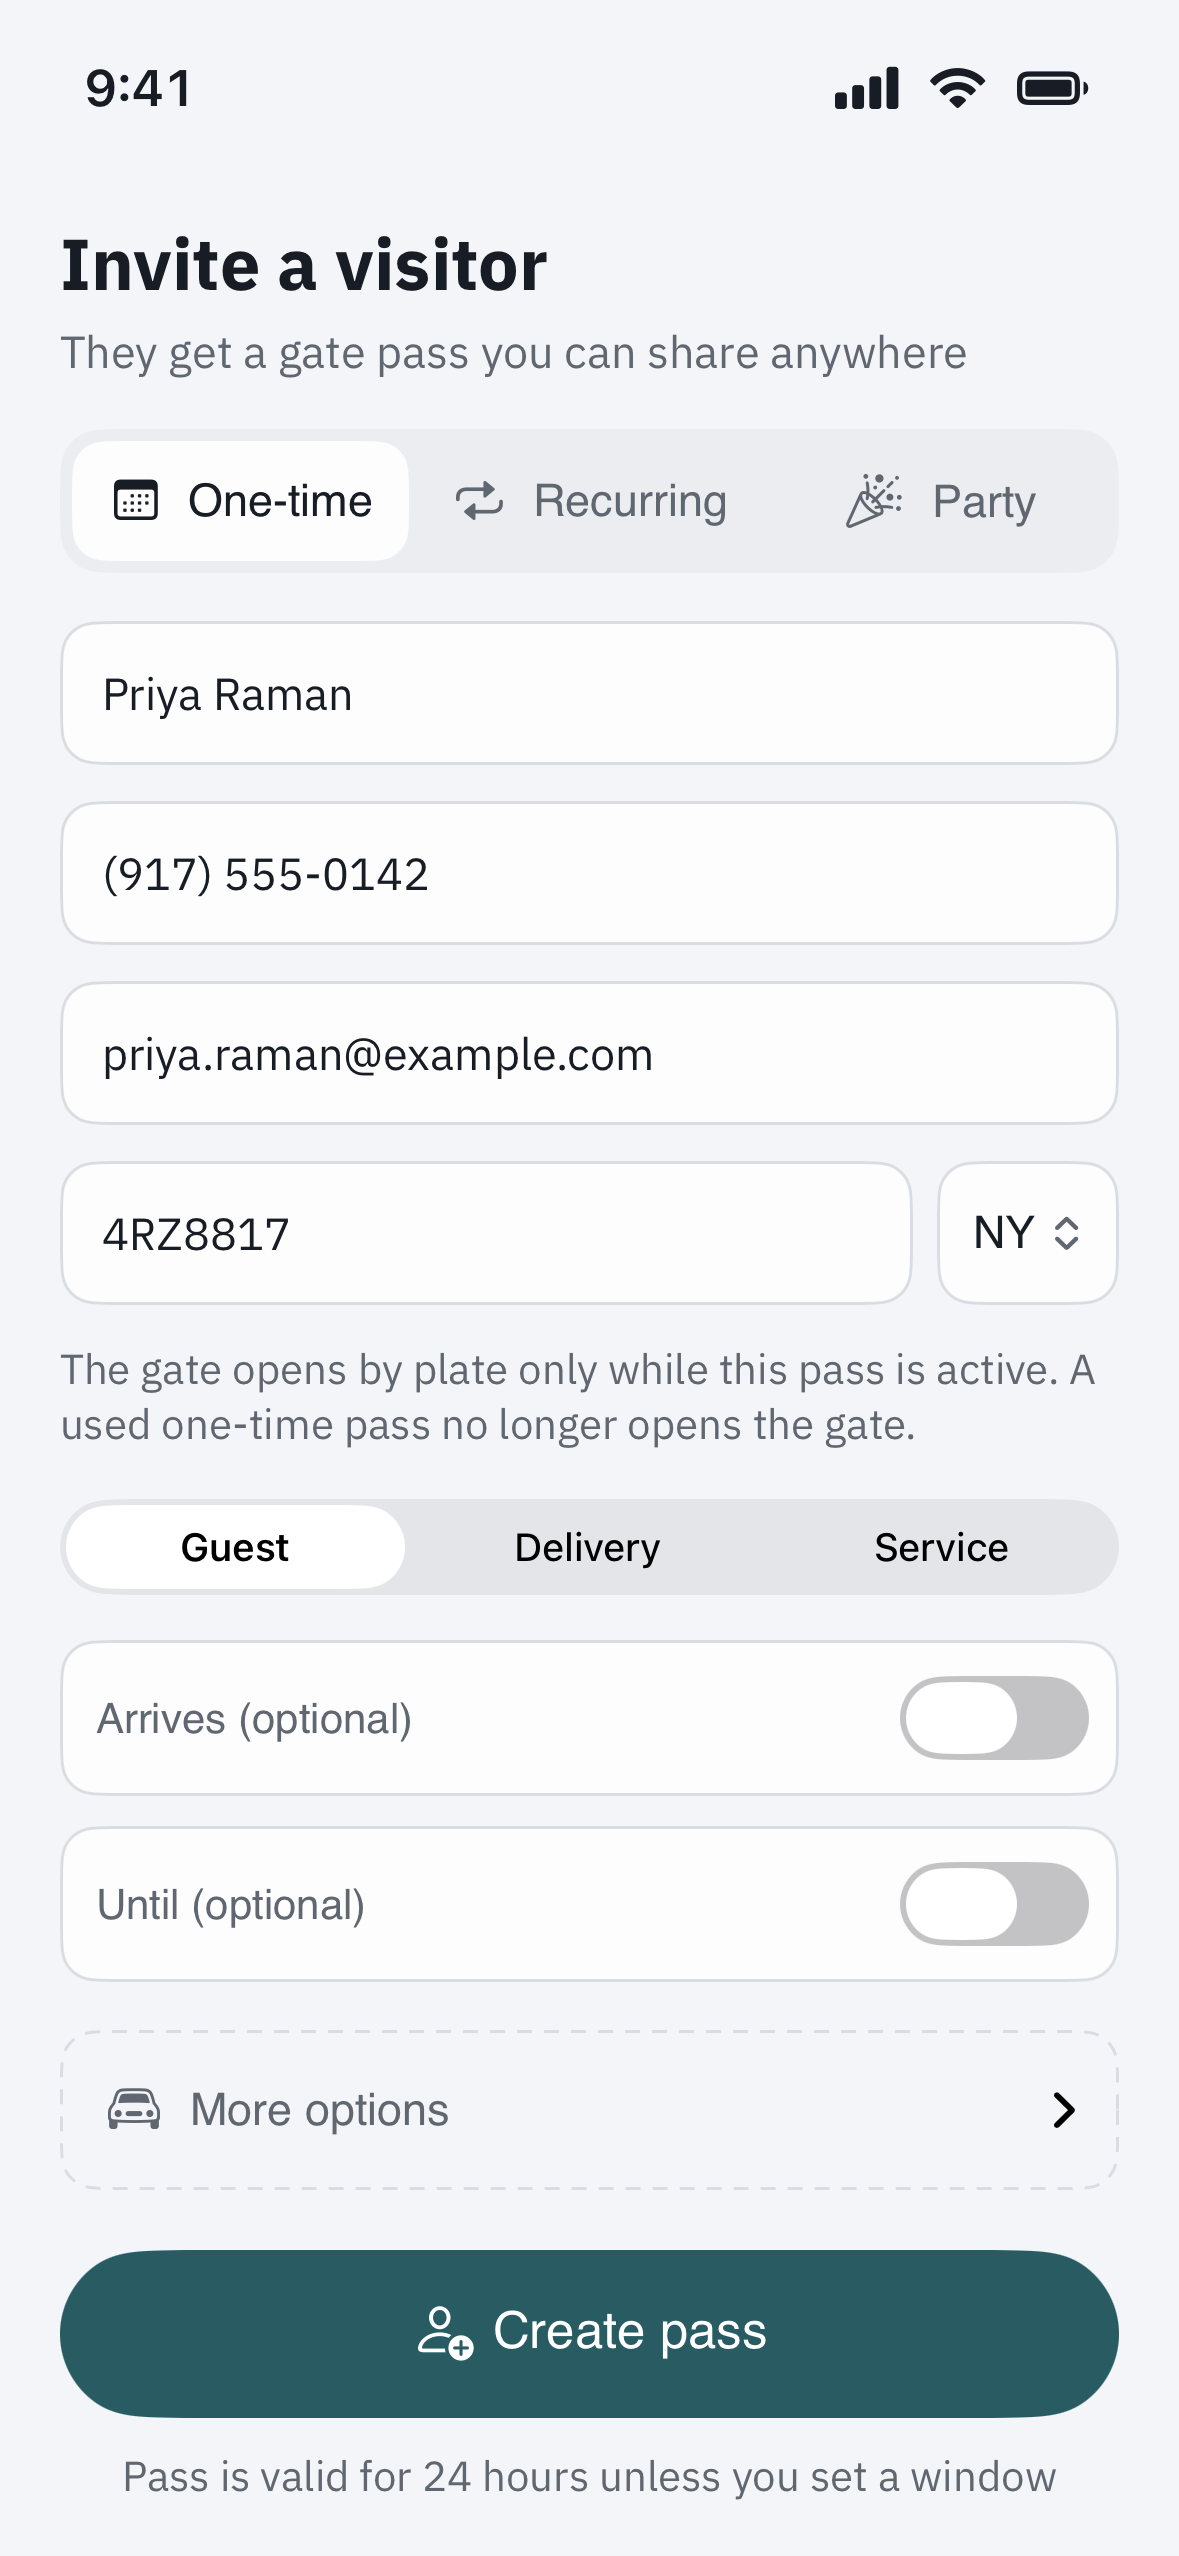
- Start an Invite and switch the toggle from One guest to Party.
- Give the event a name (for example, “Saturday birthday”).
- Set the maximum number of guests you expect.
- Create it, then share the one pass with everyone you have invited.
How guests get in
Everyone shows the same pass at the gate. The guard checks each person in, counting toward your maximum, so you can see how many have arrived. Once the maximum is reached, the pass stops admitting more — set the number a little higher than your headcount if you expect plus-ones.
Managing the guest list
You can add named guests ahead of time and manage them on the Party events page, but you do not have to — a party pass works as a shared pass even with no names on it. On the web, a guest can be removed from the list at any time before they check in (use the remove control on the guest row; the app gets this in its next release). Once a guest has checked in, the entry stays as a record. Like any pass, it is valid for the window you choose, up to a week.
Prefer individual passes?
For a small number of guests you would rather track separately, invite each one from “Invite a guest & send a visitor pass” instead.